(Click on photos for larger image)
I've actually been done with this project for some time now but I was putting off the blog because I wanted to make a frame for it. After trying (and failing) to make a frame due to lack of tools (and skill), I decided to hang it on the wall "as-is" and I have to say it turned out pretty cool.
Pret-ty cool...
Here's what you'll need:
Paint chips
These are little paper color samples that you can find at the home improvement stores or anywhere that sells paint. I choose these ones by Martha Stewart because 1. they didn't have any writing on them so I wouldn't have to cut them. 2. They had a bunch of different textures and sheen and all of the colors in the display went together perfectly.
Spray Adhesive
I used 3m but you could use pretty much any kind of glue, even stick glue, I guess. The main purpose is to make sure that the glue won't get your papers too wet or they will peel apart. I know this from experience! You also want to make sure that the glue won't leave lumps under the papers after they dry. So yeah, glue.
A Piece of Pressed Board
We got this at Home Depot for around $7. It's 1/4 in. I think. The best part is that they will cut the board to whatever size you need. Plan out your papers in advance and decide how big you want your board to be.
Wood Stain or Wood Finish
Darker is better in my opinion. I used Minwax Wood Finish in dark walnut.
Clear Coat
I used Polycrylic water based clear semi-gloss. They also have high gloss and matte. Experiment with what you like. :)
Modge Podge
I used matte

Start by separating your chips by color and lay them out to the side to find a pattern that looks good.
 Glue the papers onto the board. Start in one corner and go across. Try to line them up if you can but don't get too concerned if there's a small gap here or there. You can see in the pic below that I had some gaps.
 When I got to the end of each row, I noticed that my papers hung off of the edge by about 1/4 cm. If this happens, shave them off with a razor blade after the glue is completely dry. Try not to glue them around the corner, just let them hang off.
 Here I applied a thin layer of modge podge to protect the paper from absorbing too much stain.
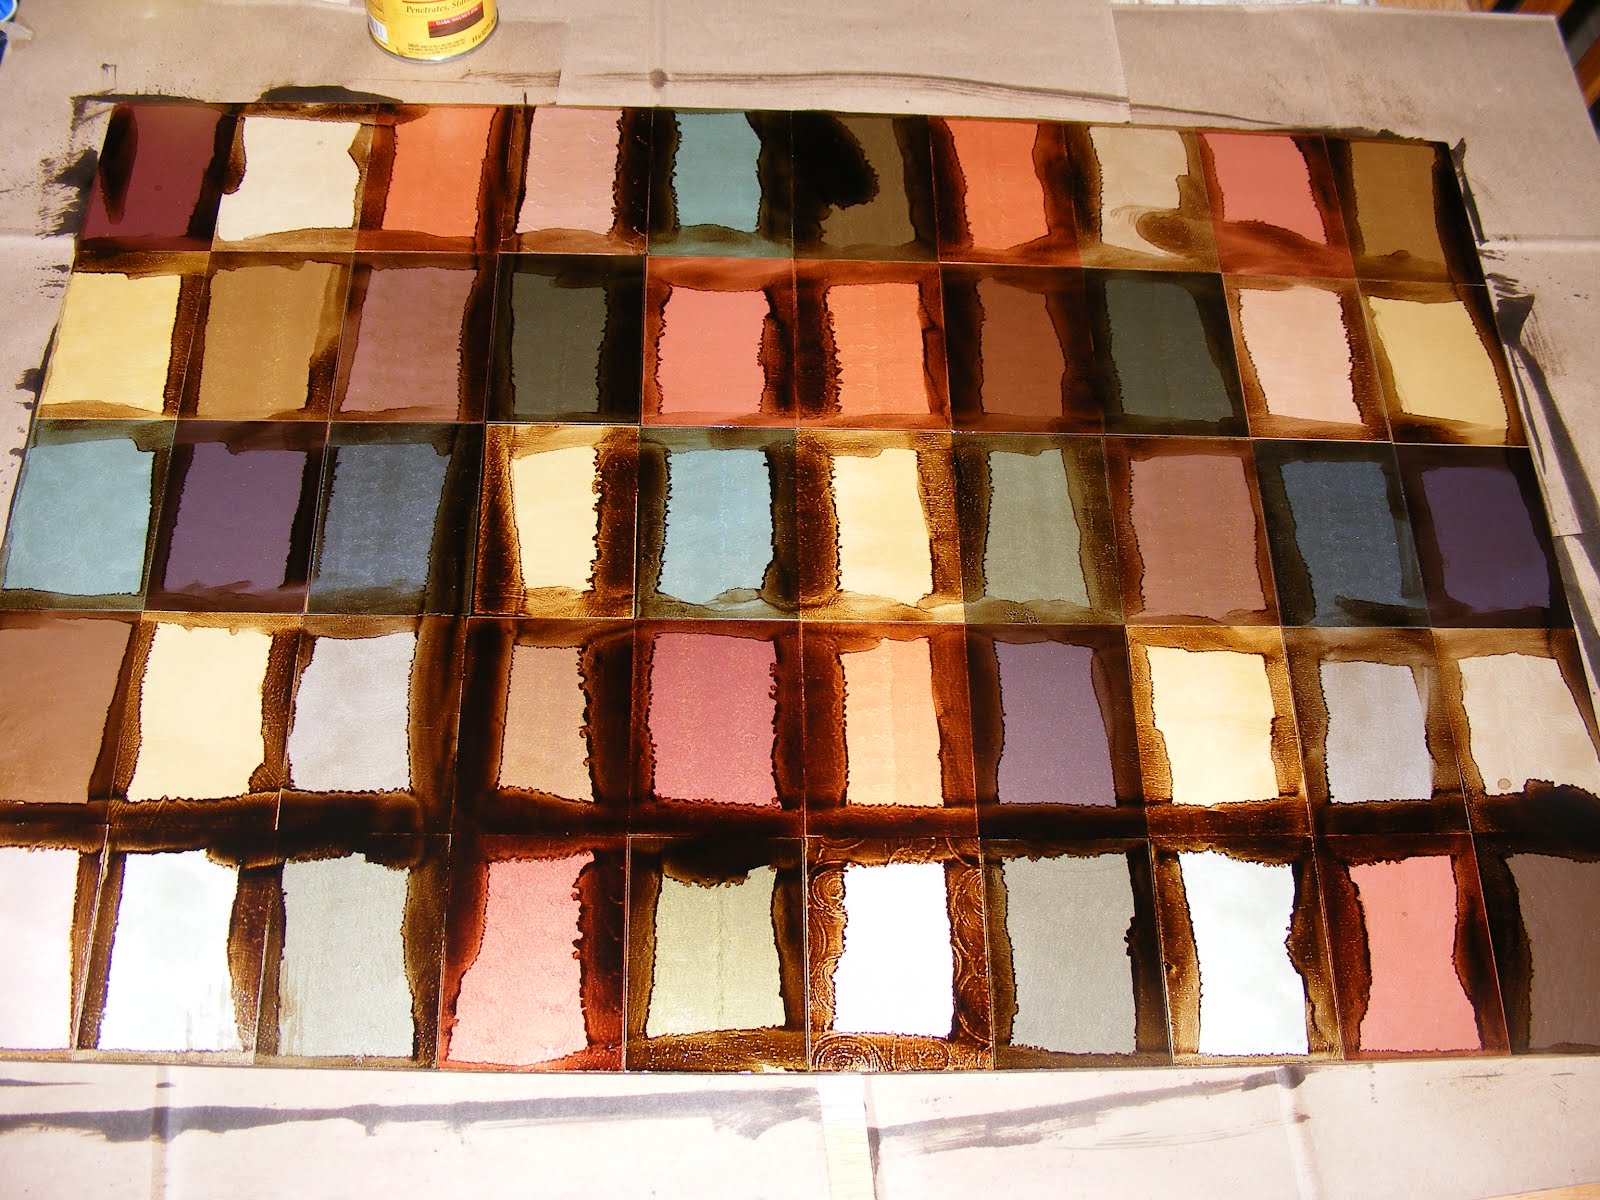
 Once dry, apply the stain liberally to the entire front, let sit for a few minutes and wipe off. Don't rub too hard and don't rub it out of the cracks between your papers. If you plan on hanging without a frame, apply the stain to the sides of the board as well.
 Apply a 2nd coat to really get in those cracks.

We want some of the stain to stay on the papers to help unify the colors.
 Lastly, you'll want to apply several layers of clear coat, allowing each layer to dry before applying the next. Continue your layers until you can no longer feel the gaps or the edges of the papers. You want to make it as smooth as possible.
You can sand in between layers if you want to but it's not necessary.
 Attach a hanging kit to the back and you're good to go. Experiment in different sizes, now that I know I can do it I'm going to make one that's about 2ft tall by 5 ft long to go over my bed.

If you decide to try it, send me a pic and I'll post it.
Good Luck!


This comment has been removed by the author.
ReplyDeleteYou have made really awesome design, I have seen so many tile and any other flooring designs but this one is really so nice and very unique. Thanks for sharing with us such a nice and very informative post.
ReplyDeleteFlooring Services Calgary
Thank you for sharing this post. You really did an incredible job. It looks exactly like the work of a professional.
ReplyDeleteFlooring in Calgary
Thanks for post. Great Information.
ReplyDeleteCarpet Cleaning Kent
This comment has been removed by a blog administrator.
ReplyDelete