Just a blog about my adventures and mishaps in life.
Expect things like recipes, art, ways to save money,
fashion, creativity, beauty, babbling and randomness.
Follow Me on Pinterest
Showing posts with label Crafty. Show all posts

Wednesday, December 3, 2014

Elf on the Shelf


   We had Fred Snow, our Elf on the Shelf, show up last year and he was a big hit! There are tons of ideas on the internet of ways for your elf to get into trouble, here's what Fred did!
(In no particular order).

The first day that Fred arrived,
he watched the movie that he came with.


Photo shoot with Cat Woman.


The fun part was seeing all of the photographs
that he took that were on the camera.


Sometimes Fred just hides.
Not everyday has to be crazy creative!


Fred playing a board game.


I guess Fred couldn't find the crayons. That's ok, Fred. Mommy couldn't find them either.
P.S. Fred is a magical elf which means he can make markers work while the cap is still on.


Fred wants us to help him build a house. He even picked out which one he likes best!


Fred LOVES to spell out messages in candy!


Shhh! Fred's had a long night.
(cucumbers and duck were printed off the internet)


I guess Fred likes seafood. Naughty little elf.


Personally, I think Fred has an unfair advantage.

No biggie. Fred just updating the countdown to Christmas.


Not a good idea, Fred! I hope it's "catch and release"!
(goldfish crackers)


Aww, Fred built a snowman....and now he's roasting it.


The army men are tired of Fred's antics!


Yin-yang bear doesn't feel too good.


Fred made Nathan a paracord bracelet with his picture
on it so he won't forget him until next year.


Getting ready for some Monday night football!
(check out Fred's jersey!)


"Snow" Angels!!
 I guess the kitchen needed cleaning anyway...


Nathan was sleeping peacefully.
He woke up and saw Fred on the landing with a sign
pointing to the mirror.
Silly Fred!


Mom forgot to turn the heater up
so Fred crocheted himself a tiny scarf.


I think Fred has the upper hand here...


Elves LOVE peppermint!


Fred made us a toilet paper tree!
We left it up all month.


Fred sat in the tree on Christmas morning and watched everyone open presents.
The next day, he was gone!

Wednesday, August 29, 2012

Paint Chip Art

(Click on photos for larger image)
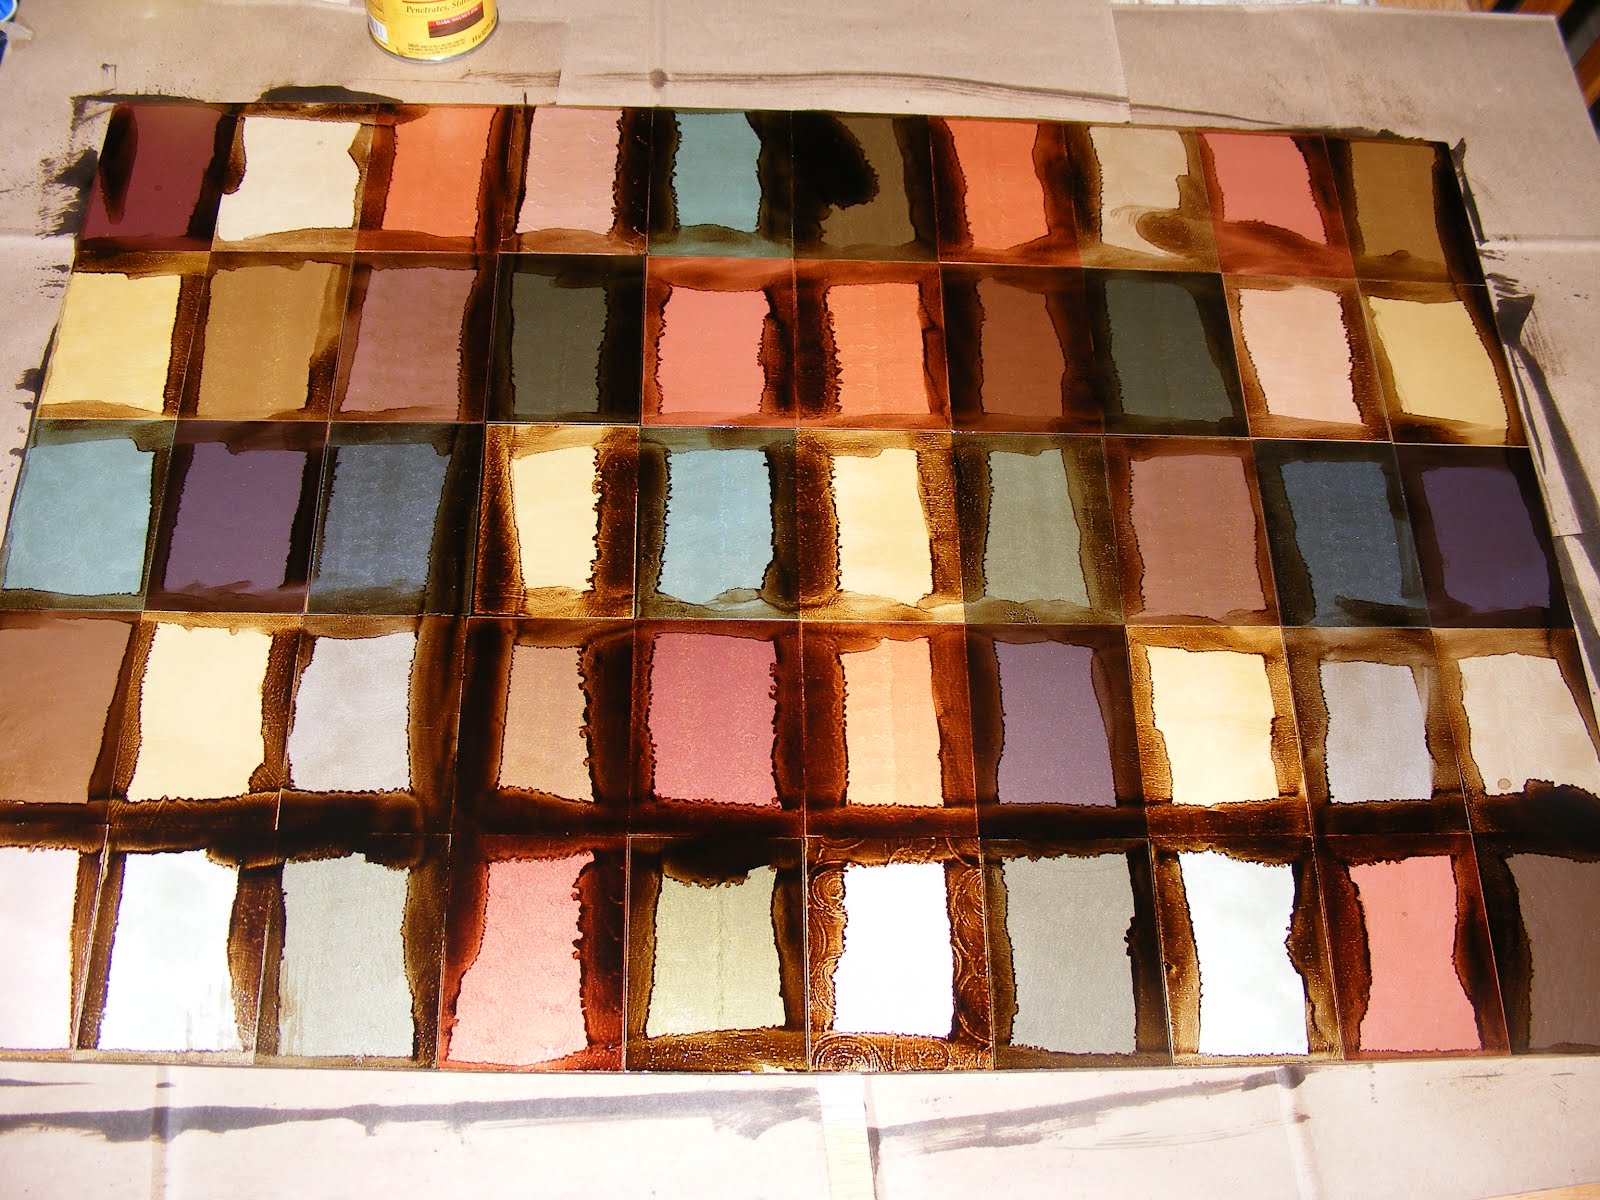
I've actually been done with this project for some time now but I was putting off the blog because I wanted to make a frame for it. After trying (and failing) to make a frame due to lack of tools (and skill), I decided to hang it on the wall "as-is" and I have to say it turned out pretty cool.
Pret-ty cool...

Here's what you'll need:

Paint chips
These are little paper color samples that you can find at the home improvement stores or anywhere that sells paint. I choose these ones by Martha Stewart because 1. they didn't have any writing on them so I wouldn't have to cut them. 2. They had a bunch of different textures and sheen and all of the colors in the display went together perfectly.

Spray Adhesive
I used 3m but you could use pretty much any kind of glue, even stick glue, I guess. The main purpose is to make sure that the glue won't get your papers too wet or they will peel apart. I know this from experience! You also want to make sure that the glue won't leave lumps under the papers after they dry. So yeah, glue.

A Piece of Pressed Board
We got this at Home Depot for around $7. It's 1/4 in. I think. The best part is that they will cut the board to whatever size you need. Plan out your papers in advance and decide how big you want your board to be.

Wood Stain or Wood Finish
Darker is better in my opinion. I used Minwax Wood Finish in dark walnut.

Clear Coat
I used Polycrylic water based clear semi-gloss. They also have high gloss and matte. Experiment with what you like. :)

Modge Podge
I used matte


Start by separating your chips by color and lay them out to the side to find a pattern that looks good.


Glue the papers onto the board. Start in one corner and go across. Try to line them up if you can but don't get too concerned if there's a small gap here or there. You can see in the pic below that I had some gaps.


When I got to the end of each row, I noticed that my papers hung off of the edge by about 1/4 cm. If this happens, shave them off with a razor blade after the glue is completely dry. Try not to glue them around the corner, just let them hang off.


Here I applied a thin layer of modge podge to protect the paper from absorbing too much stain.


Once dry, apply the stain liberally to the entire front, let sit for a few minutes and wipe off. Don't rub too hard and don't rub it out of the cracks between your papers. If you plan on hanging without a frame, apply the stain to the sides of the board as well.


Apply a 2nd coat to really get in those cracks.


We want some of the stain to stay on the papers to help unify the colors.


Lastly, you'll want to apply several layers of clear coat, allowing each layer to dry before applying the next. Continue your layers until you can no longer feel the gaps or the edges of the papers. You want to make it as smooth as possible.
You can sand in between layers if you want to but it's not necessary.


Attach a hanging kit to the back and you're good to go. Experiment in different sizes, now that I know I can do it I'm going to make one that's about 2ft tall by 5 ft long to go over my bed.


If you decide to try it, send me a pic and I'll post it.
Good Luck!
Beyond The Picket Fence

Tuesday, August 21, 2012

Baby Photo Props

UPDATE: You can now check out my etsy shop here


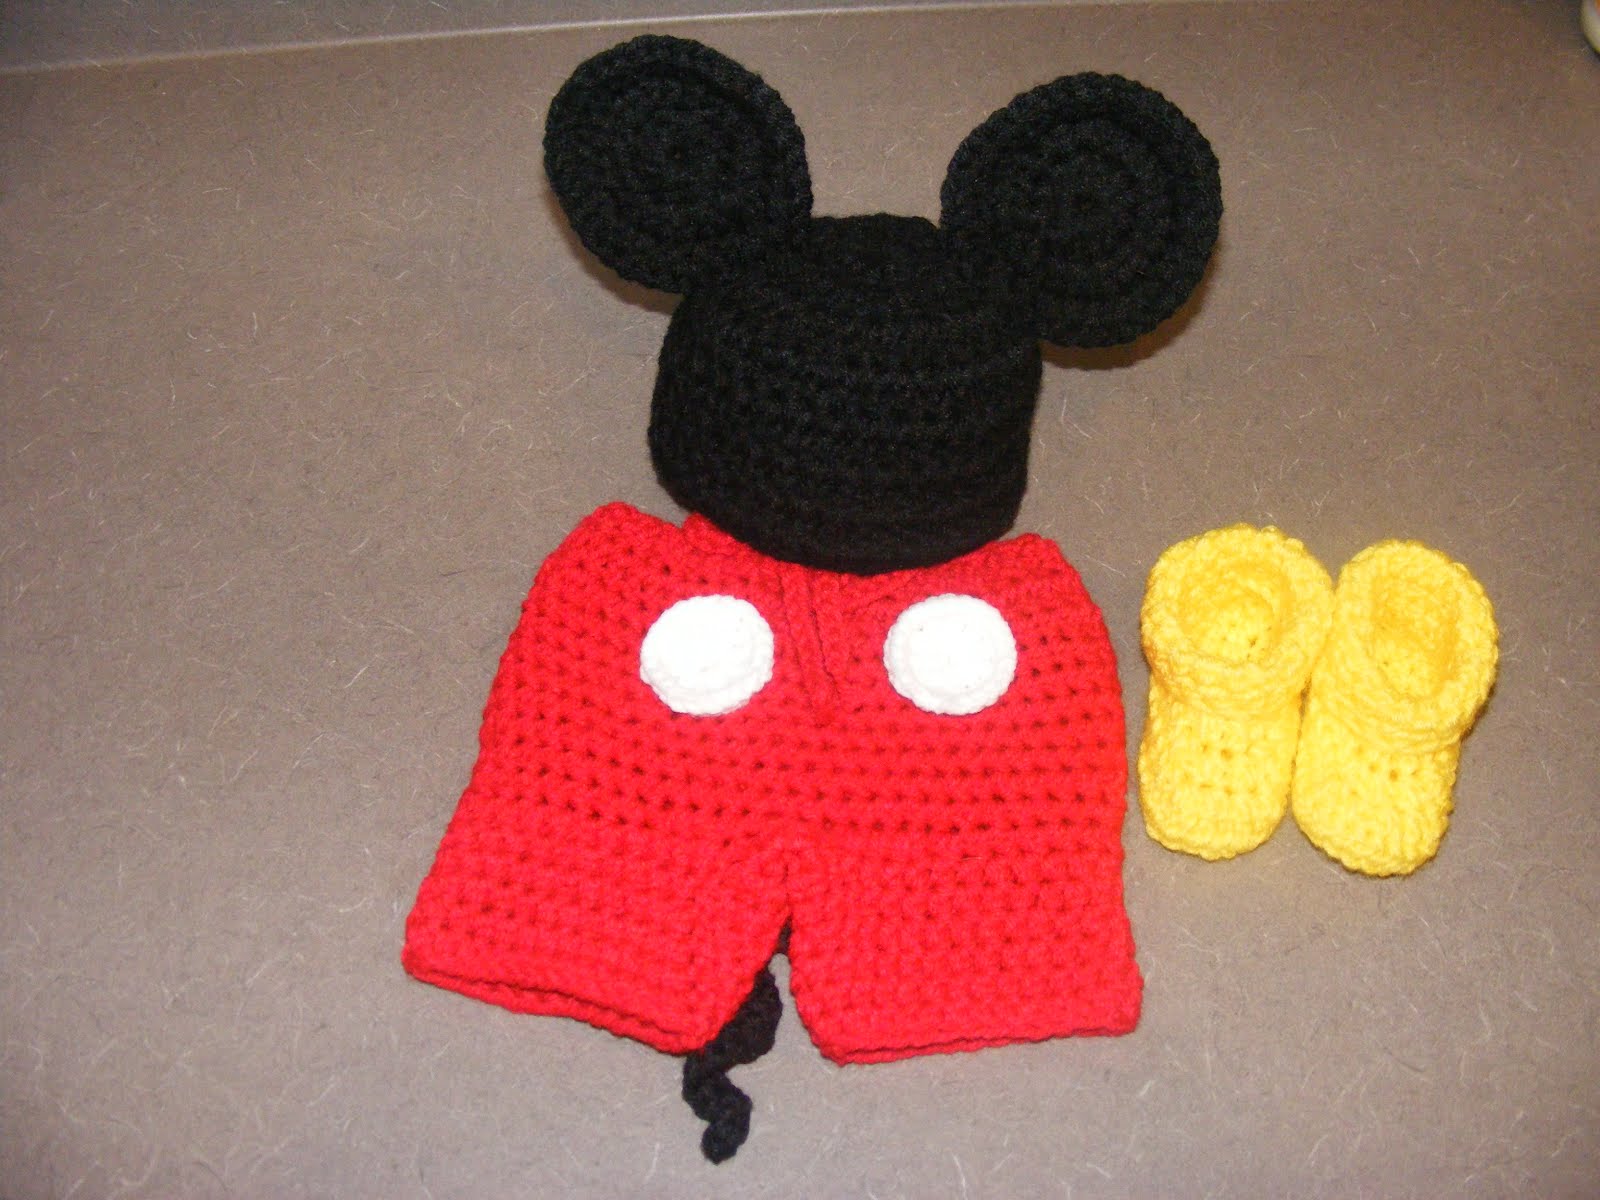
Here are a few things that I've been working on lately. I was thinking about selling these on Etsy. What do you think? (If you want to purchase one in the meantime, you can email me at aprril@hotmail.com)
Also working on a matching Minnie. How cute for twins!
A blue version of the sock monkey I made a few months back. I was also working on a pink one but I set it aside for now.
A recent request. I can't wait to see how it looks!

Now if only I had some baby models... :)

Thursday, June 7, 2012

Nail Polish & Beauty Organizer


I get a lot of beauty samples in the mail for free, I also subscribe to a few "beauty box" programs and I'm starting to become overwhelmed with products! I have so much that I can't even keep track of it all and I end up letting things expire or dry out before I even use them.

I've also developed this new found obsession with nail polish and again, have no where to keep it all, so here's the start to what I've come up with:
I found these "jewelry organizers" at Ross for around $13. The one shown here has 33 pockets on each side, (which isn't nearly enough, but it's a start). They have a few different sizes with different sized pockets and so on.
I chose these over the "caboodle" type cases because I need to see everything I have at once and I don't want to dig around for it. Plus they hang right in the closet or on a towel bar!

On a side note: If you do want a caboodle type organizer, do yourself a favor and buy a tackle box instead, they're cheaper, sturdier, and have more compartments. Yes, I mean a tackle box, like for fishing. (:


I just threw some stuff in the pockets so that you could see relative size. Eventually, everything will be organized in one way or another and I'll own about 4 more of these babies!

If you subscribe to beauty sample websites like Birchbox, Cravebox, Beauty Army, etc etc, or have a ton of nail polish, these organizers are a must-have! Let me know how you organize your small stuff...

Wednesday, May 23, 2012

Sock Monkey Baby Set (Crochet)


Wanted to share with everyone a baby shower gift that I made last week. Although I always put my own spin on everything, I can't take credit for the base patterns, (except for the blanket, which is very basic).
This set turned out adorable! You can find the hat pattern here. I altered the pattern to a newborn size simply by using a thinner yarn and smaller needle. I didn't change the stitches.
You can also find the basic pattern for the diaper cover here. Only thing I did different there is line the cover in a sc of red. These gals did a great job creating these patterns and I hope that someday I am creative enough to make my own. I think the gift was a hit. Thanks ladies!
Maybe I'll post a pic when the baby is born :)